
The gallery wall in the laundry room/mudroom is one of my favorite lovely little spaces. It truly makes me smile every time I look at it.
 |
| Gallery of kid art in my laundry room/mudroom |
Here are the artists on the first day of school this year.
 |
| Griffin, 4th grade. Bela, 1st grade. |
You don't need to have your own little artists in residence, though, to create a gallery wall. Other options are family photos, travel pictures, or inspiring quotations. Whatever makes you smile! I even think an entire gallery of different shots of a beloved pet would be super cute. No matter what you choose, make sure your grouping has a similar theme. The subject elements should relate to each other to create consistency.
 |
| Angled view of the gallery wall. The bad reflection on the glass is all the better for showing off the frames. |
The other way to create a consistent look is in your choice of frames. Most of the frames I used in this project are cheapies. I really like the thin black gallery frame style that is sold at the Dollar Store and Wal-Mart. The pop-out glass makes them super easy to use and they usually only cost $1-2 for an 8x10. I am also a big fan of the edgeless cube-style frame (bottom, b&w tomato). I even used one frame that didn't have any glass (the handprint sunflower in the corner) which creates a cool 3-D effect! In the end, I didn't want the frames overpowering the art.
The thicker black frame in the center with the white matting is the exception. I bought it several years ago from Target and I think I spent about $25. Using one nicer frame in your gallery is a good trick for elevating the whole. As your eye travels around the gallery, your brain only needs to see one or two nice frames amidst the collection of images, which is where you want the focus to be.
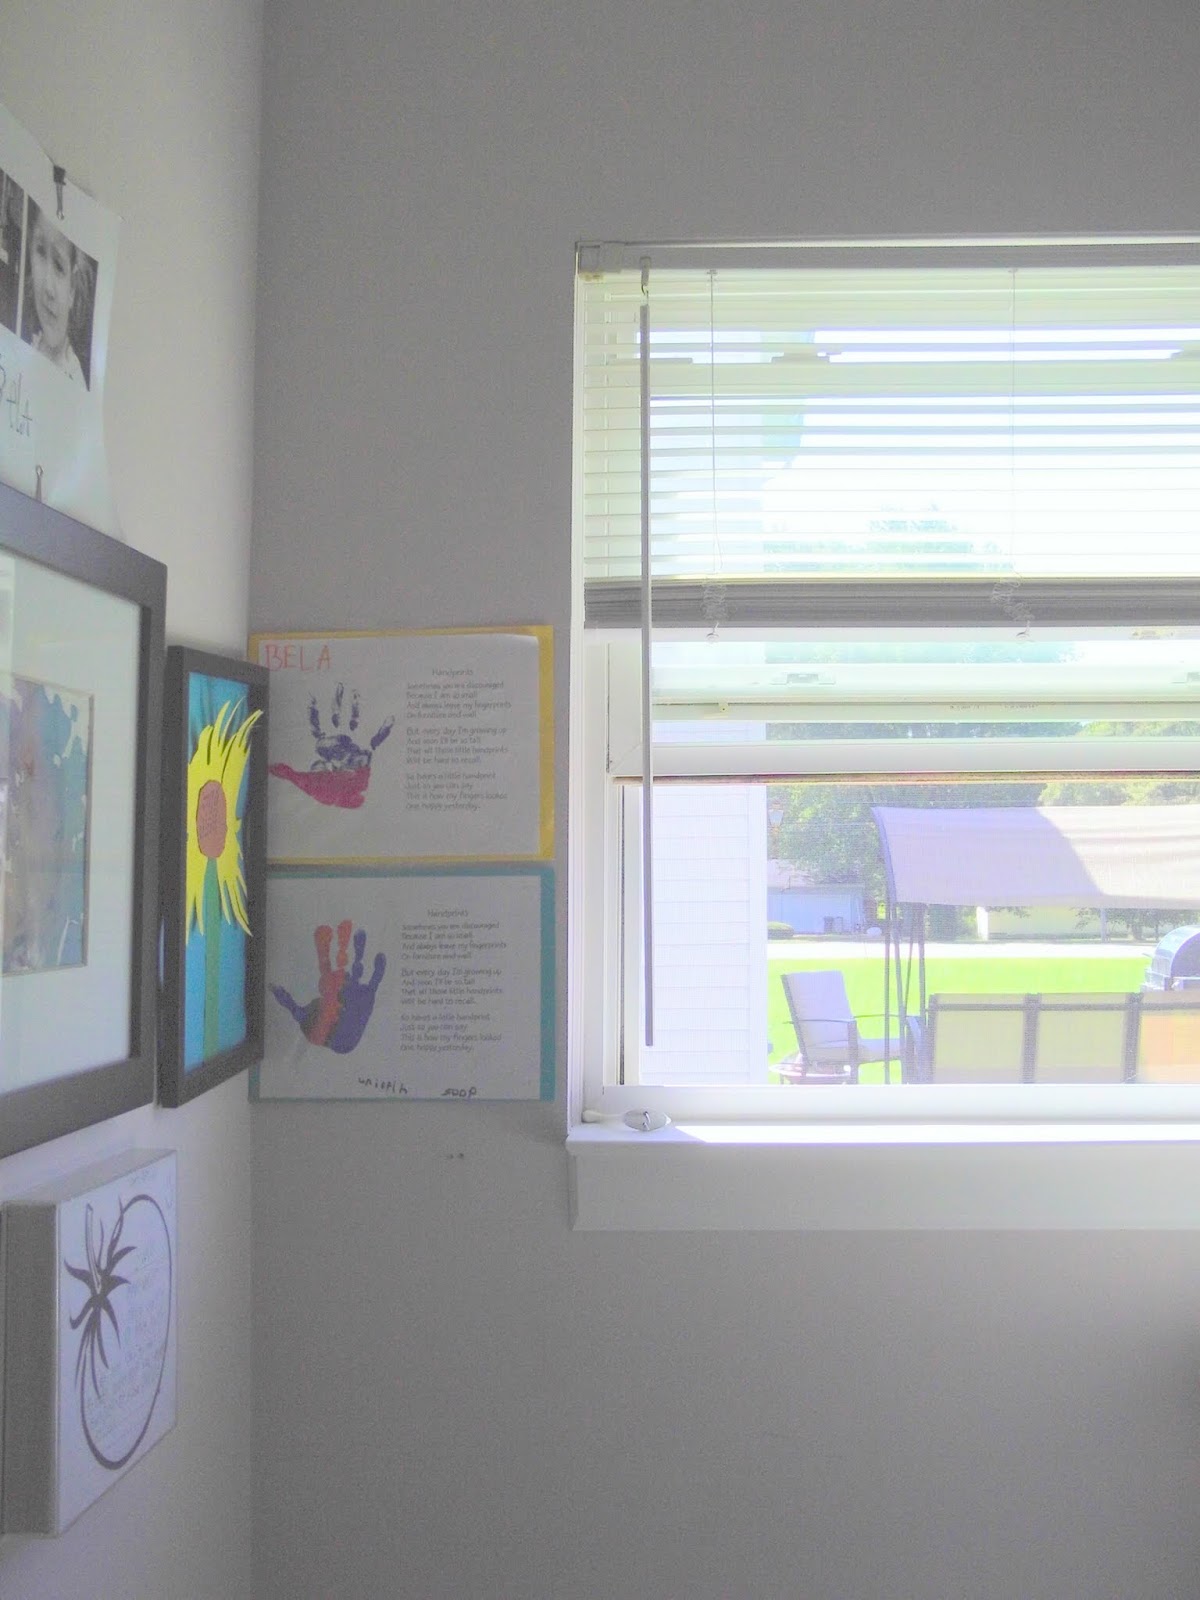
Here's another shot of the gallery wall from around the corner.
 |
| I really need to put the photo collage of Griff & Bela into a frame! |
There's still lots of room between the top row of art and the ceiling, which means we can go higher when we need to add more pieces.
Lots
of people recommend laying all of your frames on a large piece of craft
paper and then putting that up to get your configuration just right. I
am not one of those people. My preference is to align the tops of the
frames (or the bottoms of the frames in some cases) with the key being
to make an equivalent distance between the frames. So in some cases, such
as the labeled flower on yellow, a frame will not be level with any of
the other pictures but it will be an equivalent distance from the print
above and the one next to it.
 |
| The hardware on the Monet-esque piece makes the frame tilt. Drives me crazy! I'll be fixing it this week. |
 |
| The coat hooks are moving over here this week. The prints will have to move up a bit first, though. |
****
Finally, a craft project for preserving some happy memories of childhood!
Griff and Bela made these handprint poems at the end of kindergarten. They are so lovely!
To do it at home, print the poem onto paper first, mix up the finger paints and let your baby roll their little hand in it, then place their hand onto the paper. Mount on construction paper.

If you would like a copy of the poem--ready to print--just let me know in the comments section and I'll send it to you by email. :) It's really touching and such a good reminder for parents to appreciate now, even with all the little messes.
Their artwork is SO cute! I love that watercolor in the center of the first photo!
ReplyDeleteStacy
Thanks, Stacy!! That watercolor might be my favorite :)
Delete